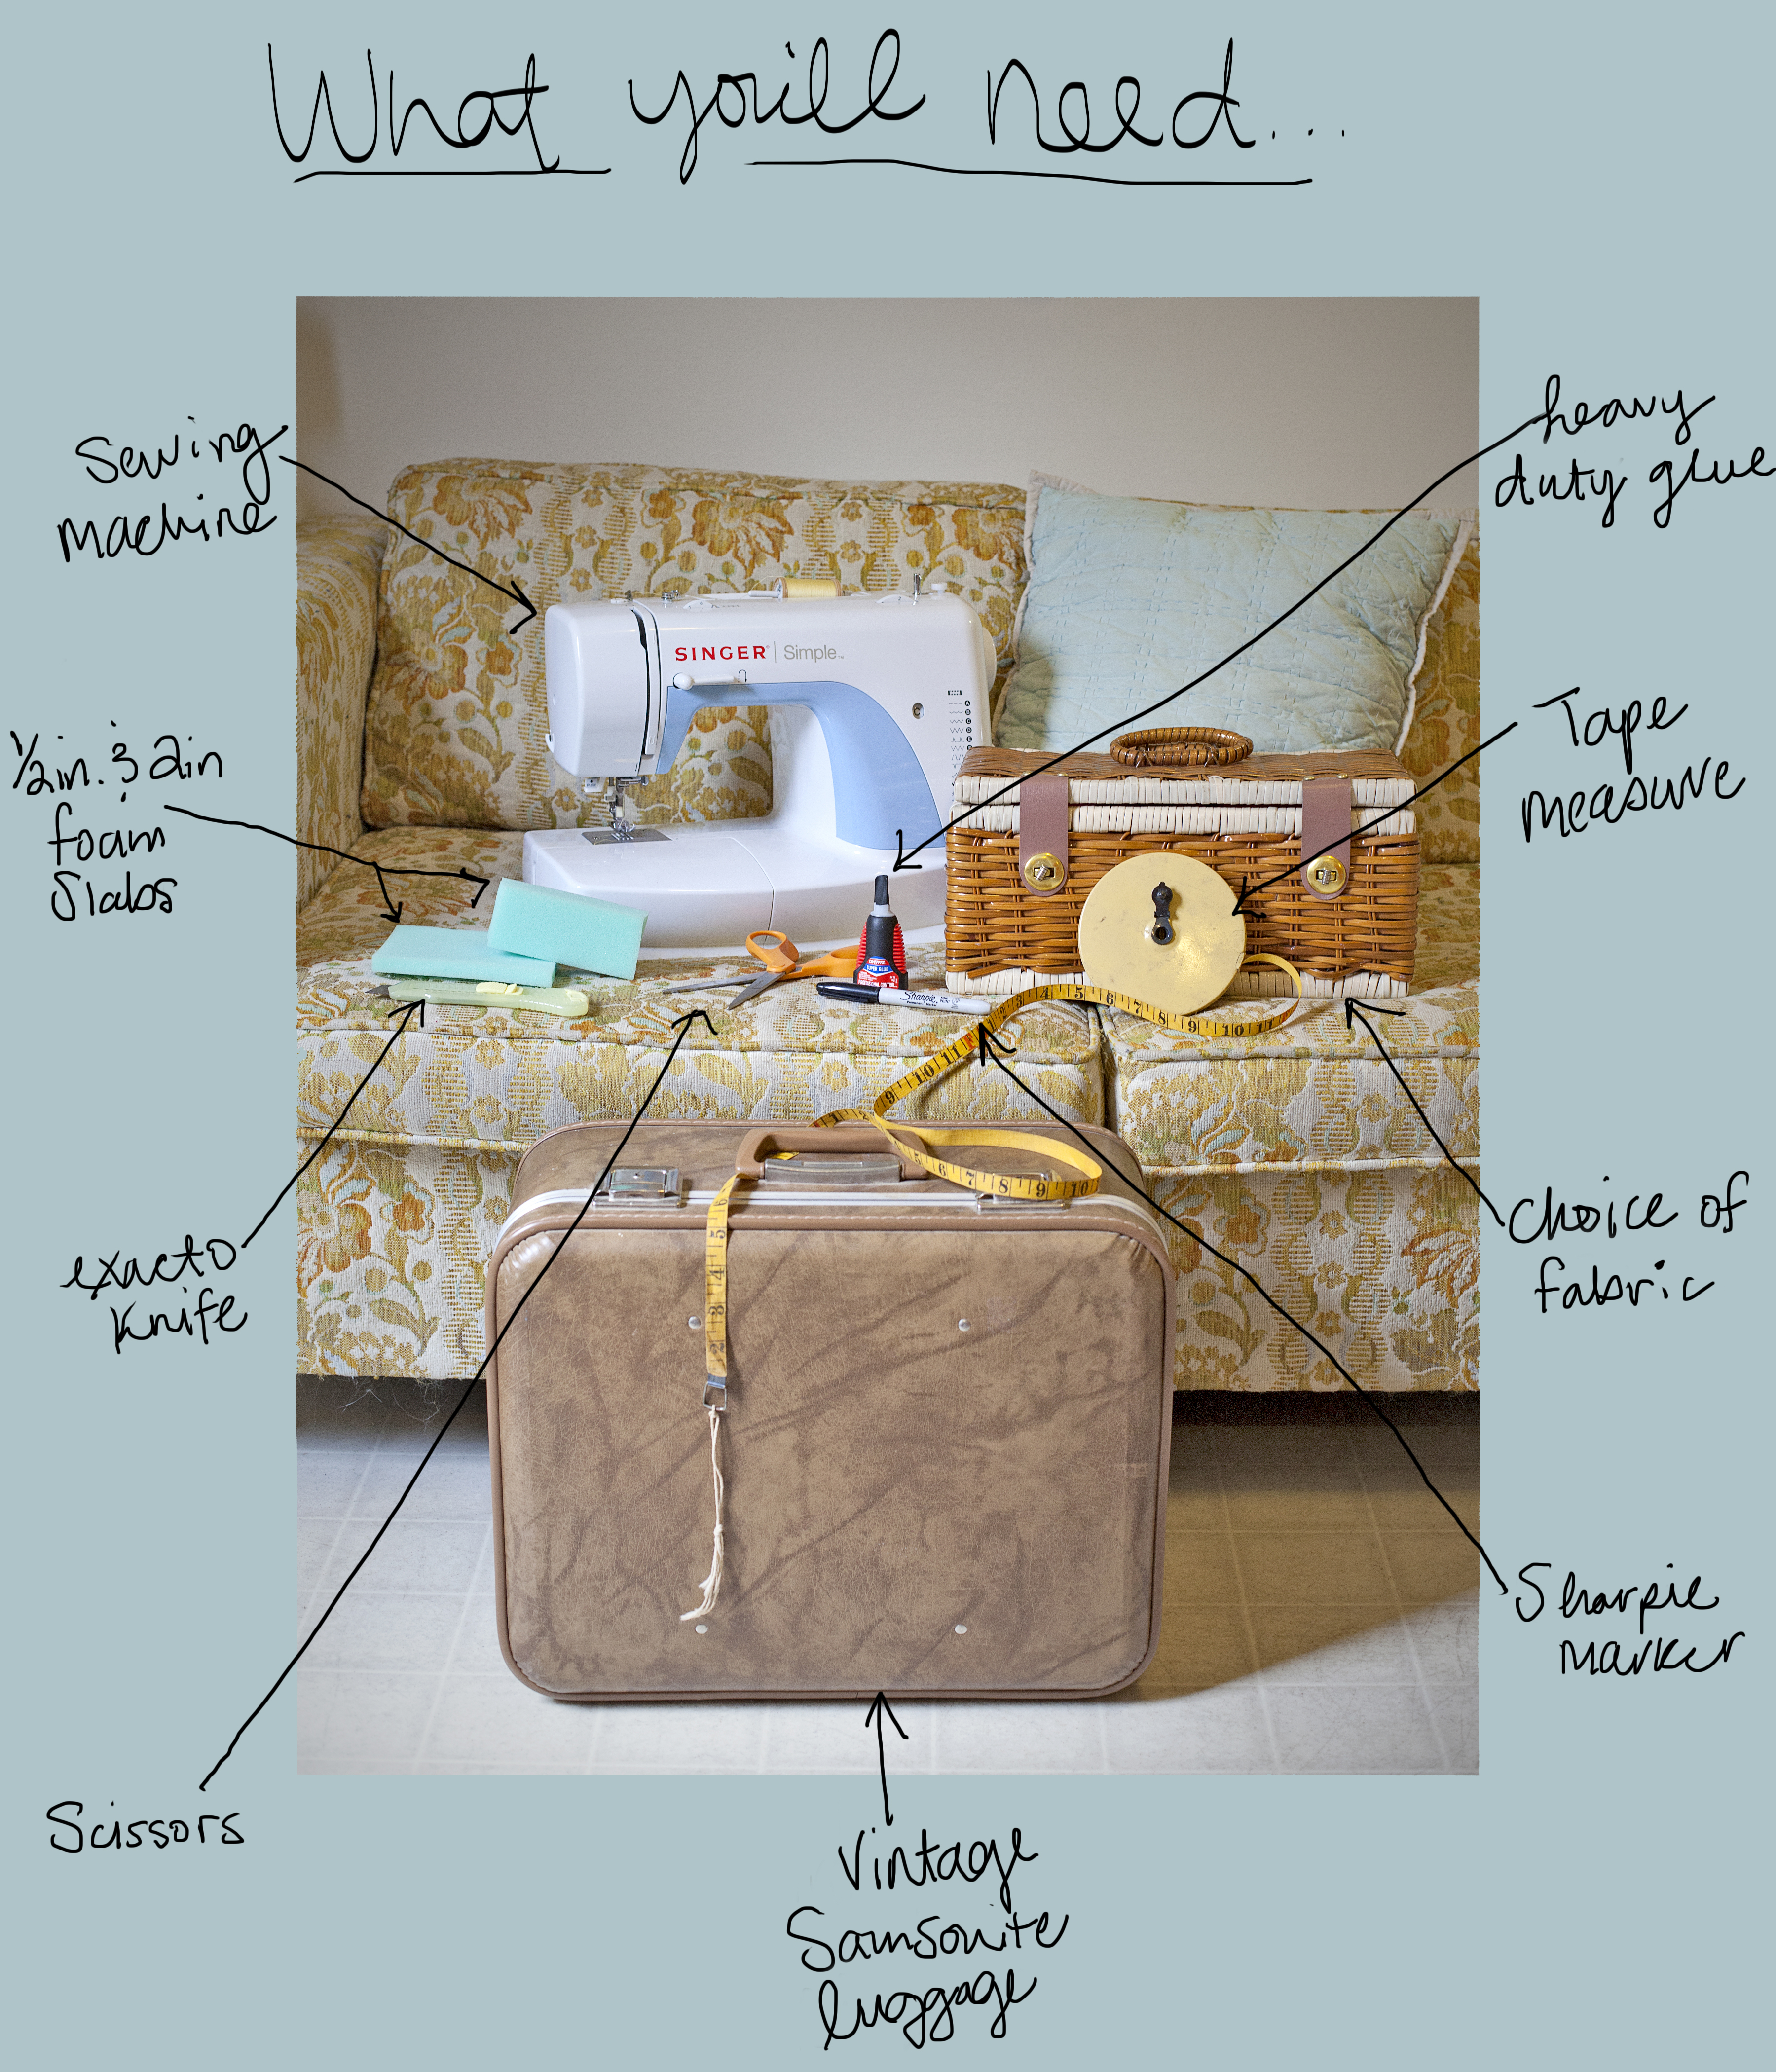
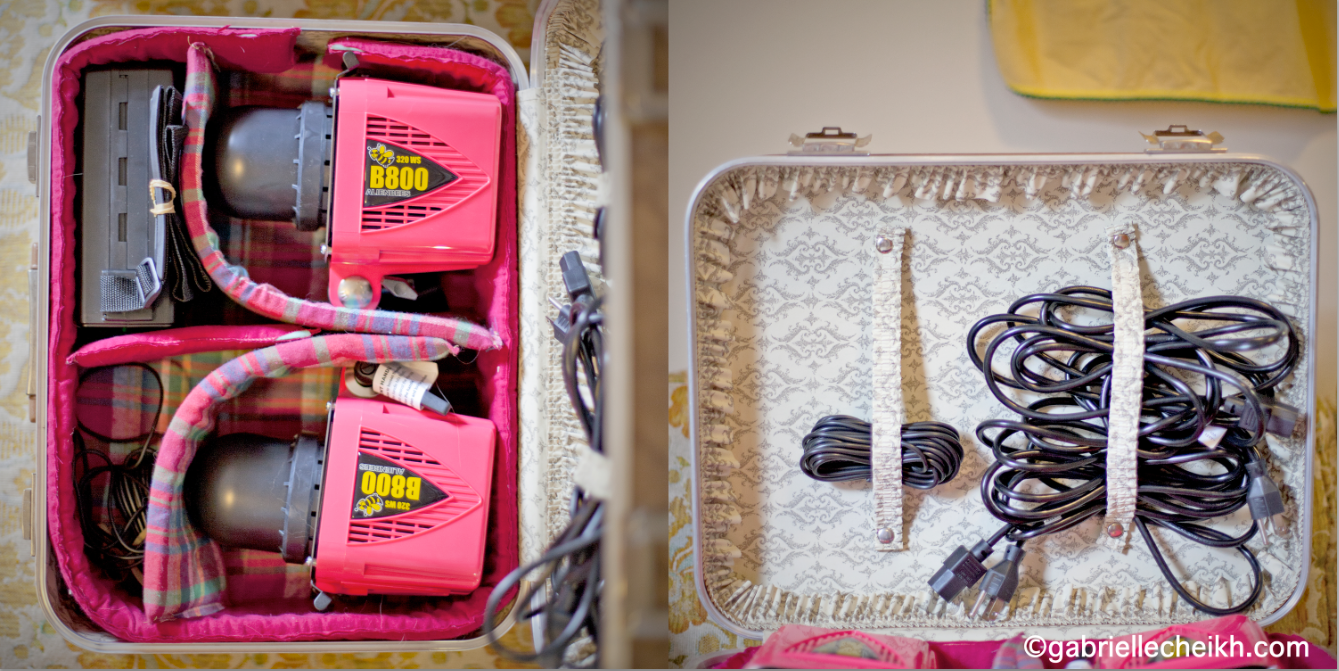
I have been in the market for some new, more portable lights for a while now…and FINALLY, earlier this week, I committed. Naturally, after I got my awesome neon pink AlienBees, I needed to have somewhere safe to store and transport them in. As a short and, as it turns out, not exceptionally strong gal, I decided that I wanted something that was a bit smaller. After my search for a good carrying case, I realized that NOTHING seemed to be a good fit for me and the prices were completely outrageous. It’s these moments where I remember that I absolutely love crafting-and definitely neglect it way too much! I immediately set out to Goodwill and Joanns to find some supplies and got to work!
I thought I would share my process for my fellow photographers on a tight budget! It doesn’t take much skill to make this- as long as you can use a sewing machine, you are in the clear! I made this in an extremely elementary fashion- not much measuring or accuracy, but it works great!
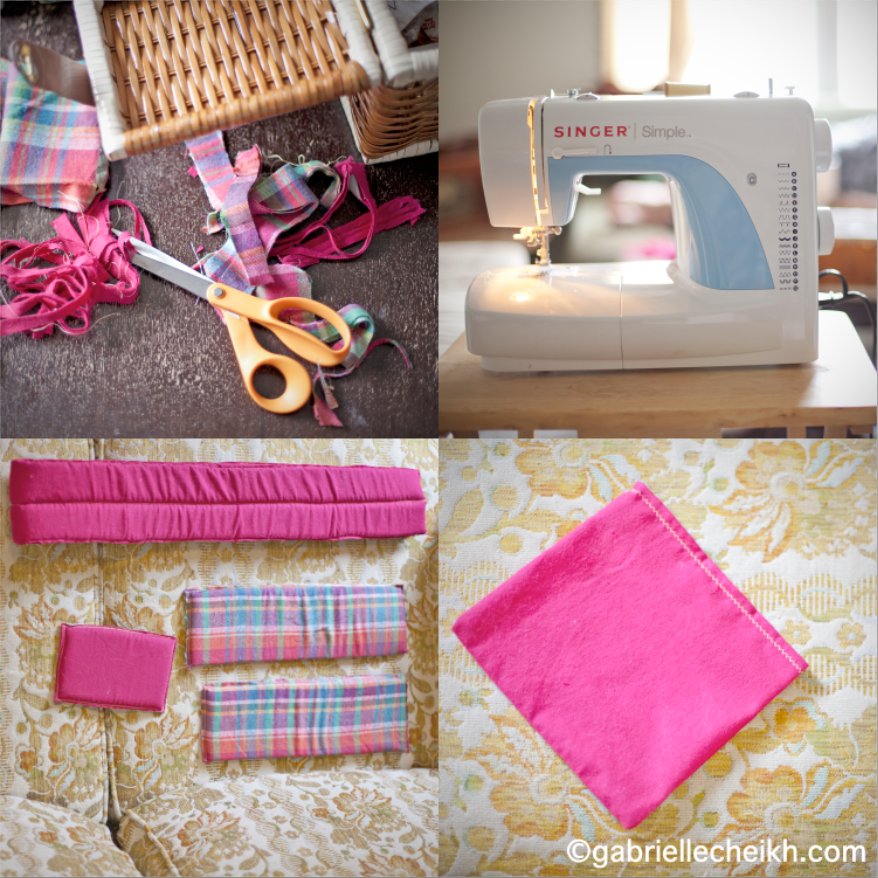
For the interior, I decided that I wanted pads that covered the edges as well as divided the case into multiple sections. I may still make more of these. This decision is totally dependent on your equipment and the size/shape of the bag. These small pads are made out of the 1/2 inch foam. If you want a quick, painless way of doing this (which I did!) simply measure the suitcase to find what lengths you want each piece. Next, you will cut your foam to this size. For the fabric, I added a half inch to each side to give room for sewing and error. For these, I didn’t bother sewing them like a classic sleeve with the seam inside, instead, I decided to pin the fabric directly to the foam and sew around the edges-clipping the excess fabric afterwards.
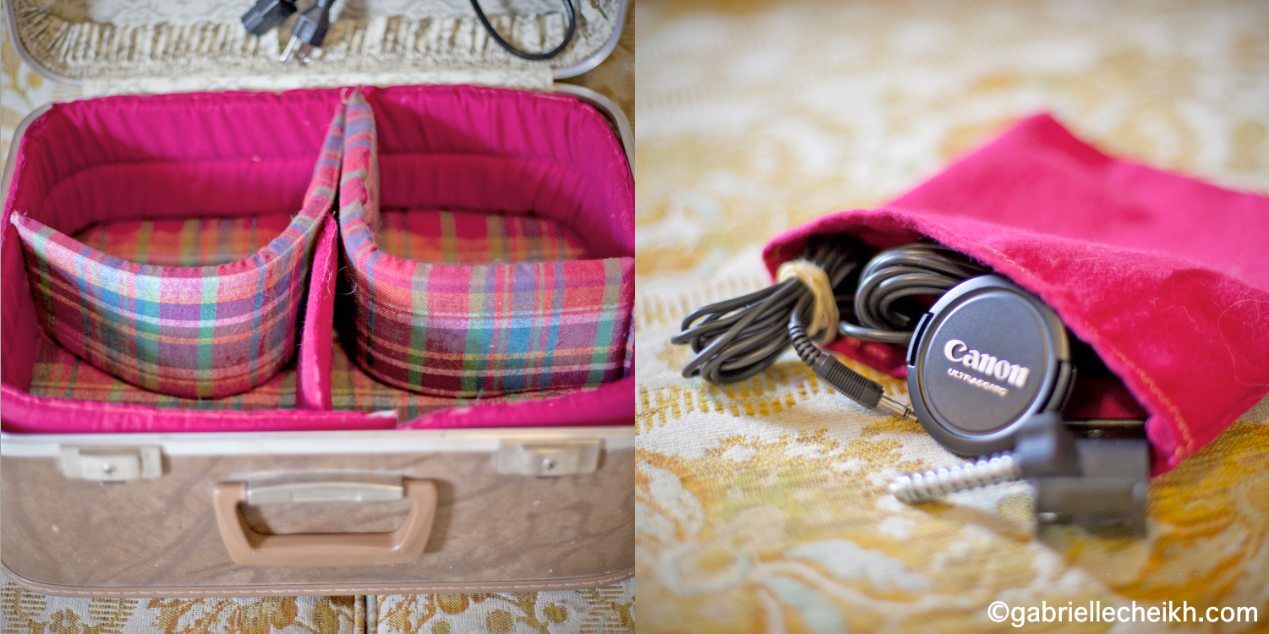
I also decided to make a small pouch out of the same fabric to hold all of the small accessories and cords that accompany my lights. To do this, simply fold a piece of fabric in half and sew up the side two edges- leaving the top open. I chose to turn under the top edge and sew that as well, just to make it a bit more finished. You could even add a button or zipper if you wanted to get really fancy with it!
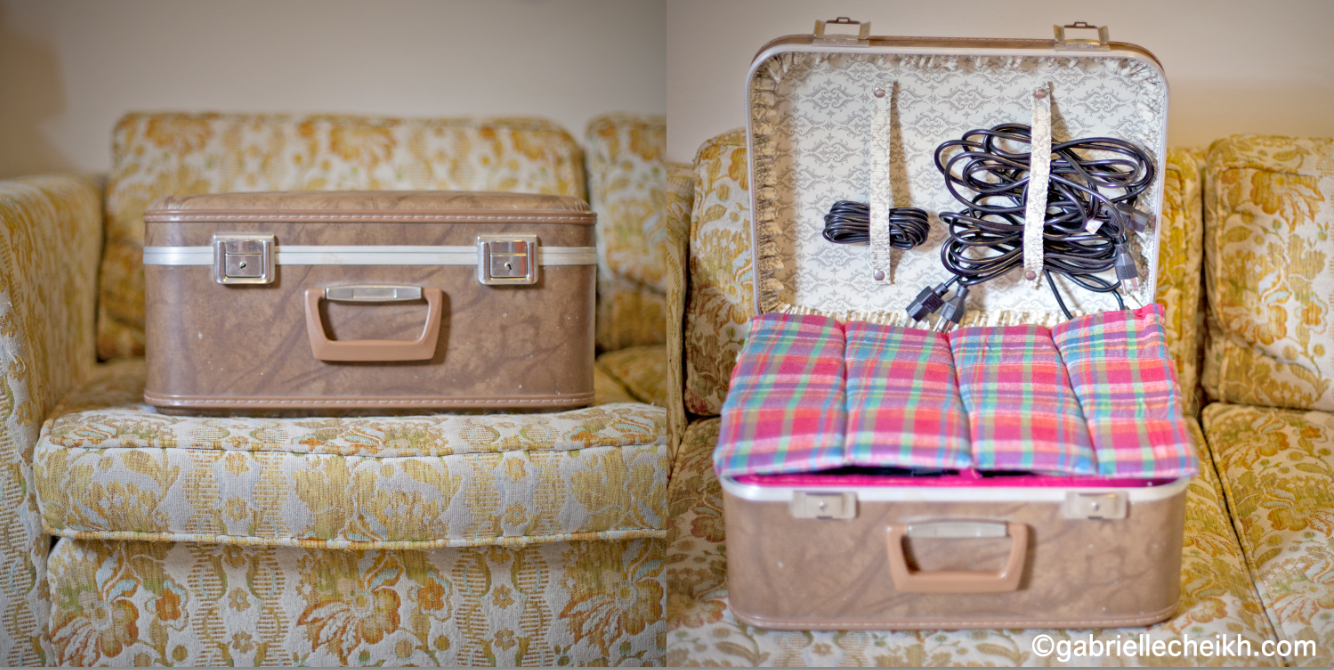
This suitcase happens to be the perfect size, but there are all sorts of great, inexpensive hard cases out there! I think this was $3.49….Can’t beat that!
Because this particular suitcase lacks any sort of padding, however, I had to make pads for the top and bottom. For the bottom pad, I chose to use the thicker, 2 inch foam for added security. Depending on how deep your bag and lights are, you may only need the 1/2 inch foam. Once I cut my 2 inch foam to fit the bottom of the case, I measured and cut the fabric to cover the top and sides of the foam. With the little that folded over the bottom of the foam (I recommend leaving a 1/2 inch or more), I used super glue to adhere the fabric to the foam- making sure that the fabric on top (the part that will show) was pulled tight and even.
For the top pad, I used the 1/2 inch foam and used the same technique as I did with the interior pads. With this piece, however, I decided that I wanted to sew squares in it as to give it more flexibility. I did this part after sewing and trimming the edges. The great thing about the 1/2 inch foam is that it is extremely easy to sew through!
When you have all of the pieces you want constructed, simply place them in the box as you see best! I thought about using velcro to keep them in place, however, I decided that it made more sense for me to be able to move them freely. Because of the padding’s density and the texture of the fleece that I chose, the pieces actually stay in the shape that I need without any velcro. If you have your bag tightly packed like mine is, you shouldn’t have to worry about that at all!
Now that you have a great, safe case…..get out there and shoot!
[…] / 20 / 21 / 22 / 23 / […]