This week, my boyfriend, Kyle, and I got the opportunity to volunteer at the Banneker Community Center for their summer program. Banneker Community Center, run by the Bloomington Parks and Recreation Department, hosts kids and youth for after school, evening and Summer events.
At the beginning of the summer, I started talking to our friend Will Rose, who is also the After School Coordinator for Banneker, about wanting to volunteer to do an art program there. Unfortunately, because of their schedule and my limited time in Bloomington before leaving for New York, we only got to work one week. This week, however, was really great.
The first day that we volunteered, we worked with a group of kids on drawing. We started off by playing telephone pictionary, which is great fun with friends, but, turns out, VERY difficult with a group of kids that would rather be playing in the pool. We made it through that game and everyone was surprised how much their first sentence changed throughout the game from other peoples interpretations. (See what we did there!?)
After the longest game of telephone pictionary that I have ever played, we taught them how to do blind contour drawings. Blind contour drawings are a technique used to exercise the right side of the brain and to look at things more carefully. While doing a blind contour drawing, you set your pencil down on a piece of paper and from then on, you only look at the particular thing you are drawing, following the lines of the object to define it on the paper, never looking back down at your paper. Generally, these drawings don’t turn out to look like much, however, the exercise of doing them helps greatly in how you see and perceive things around you, especially when trying to duplicate something on paper. This is something that I learned from my high school art teacher, Mr. Cancilla, who was by far the best art teacher anyone could ever ask for!
Next, we attempted to teach them how to do negative space drawing. This is a technique where you only draw the space around the objects that are set in front of you, concentrating on the forms that the objects make in space rather than the objects themselves. This is also a really great exercise.
After all of these things, it became clear to Kyle and I that we had lost all but one kid’s attention and that the near-by swing set seemed much more appealing than listening to us anymore. Already exhausted and clearly ignored, we decided that they had had enough so we headed out in hopes that the next “art club” would be a little bit more interested in what we had to teach! Don’t get me wrong, it was still really fun and some of the kids really got into what we were doing. One little boy got really good at blind contour drawings and was very obviously holding in a lot of excitement!
The next day, we headed over to the park by the Banneker center to run another “art club.” We decided, that this time, we were only going to do a collaborative Cyanotype photogram on fabric. Cyanotypes are a photographic printing process that render blue prints. A photogram is a photographic image made without a camera by laying objects on top of a photosensitive surface and exposing it to light.
When we got there, we waited for a while until they were finished with lunch and were surprised when a heard of about 20 kids headed our way (some VERY young and some high school age). Immediately, we knew that doing one collaborative cyanotype wasn’t going to work so we divided them up into a craft group and a cyanotype group. The boys and very young girls migrated towards Kyle’s “craft corner” and the older girls and one boy came with me to make the cyanotype.
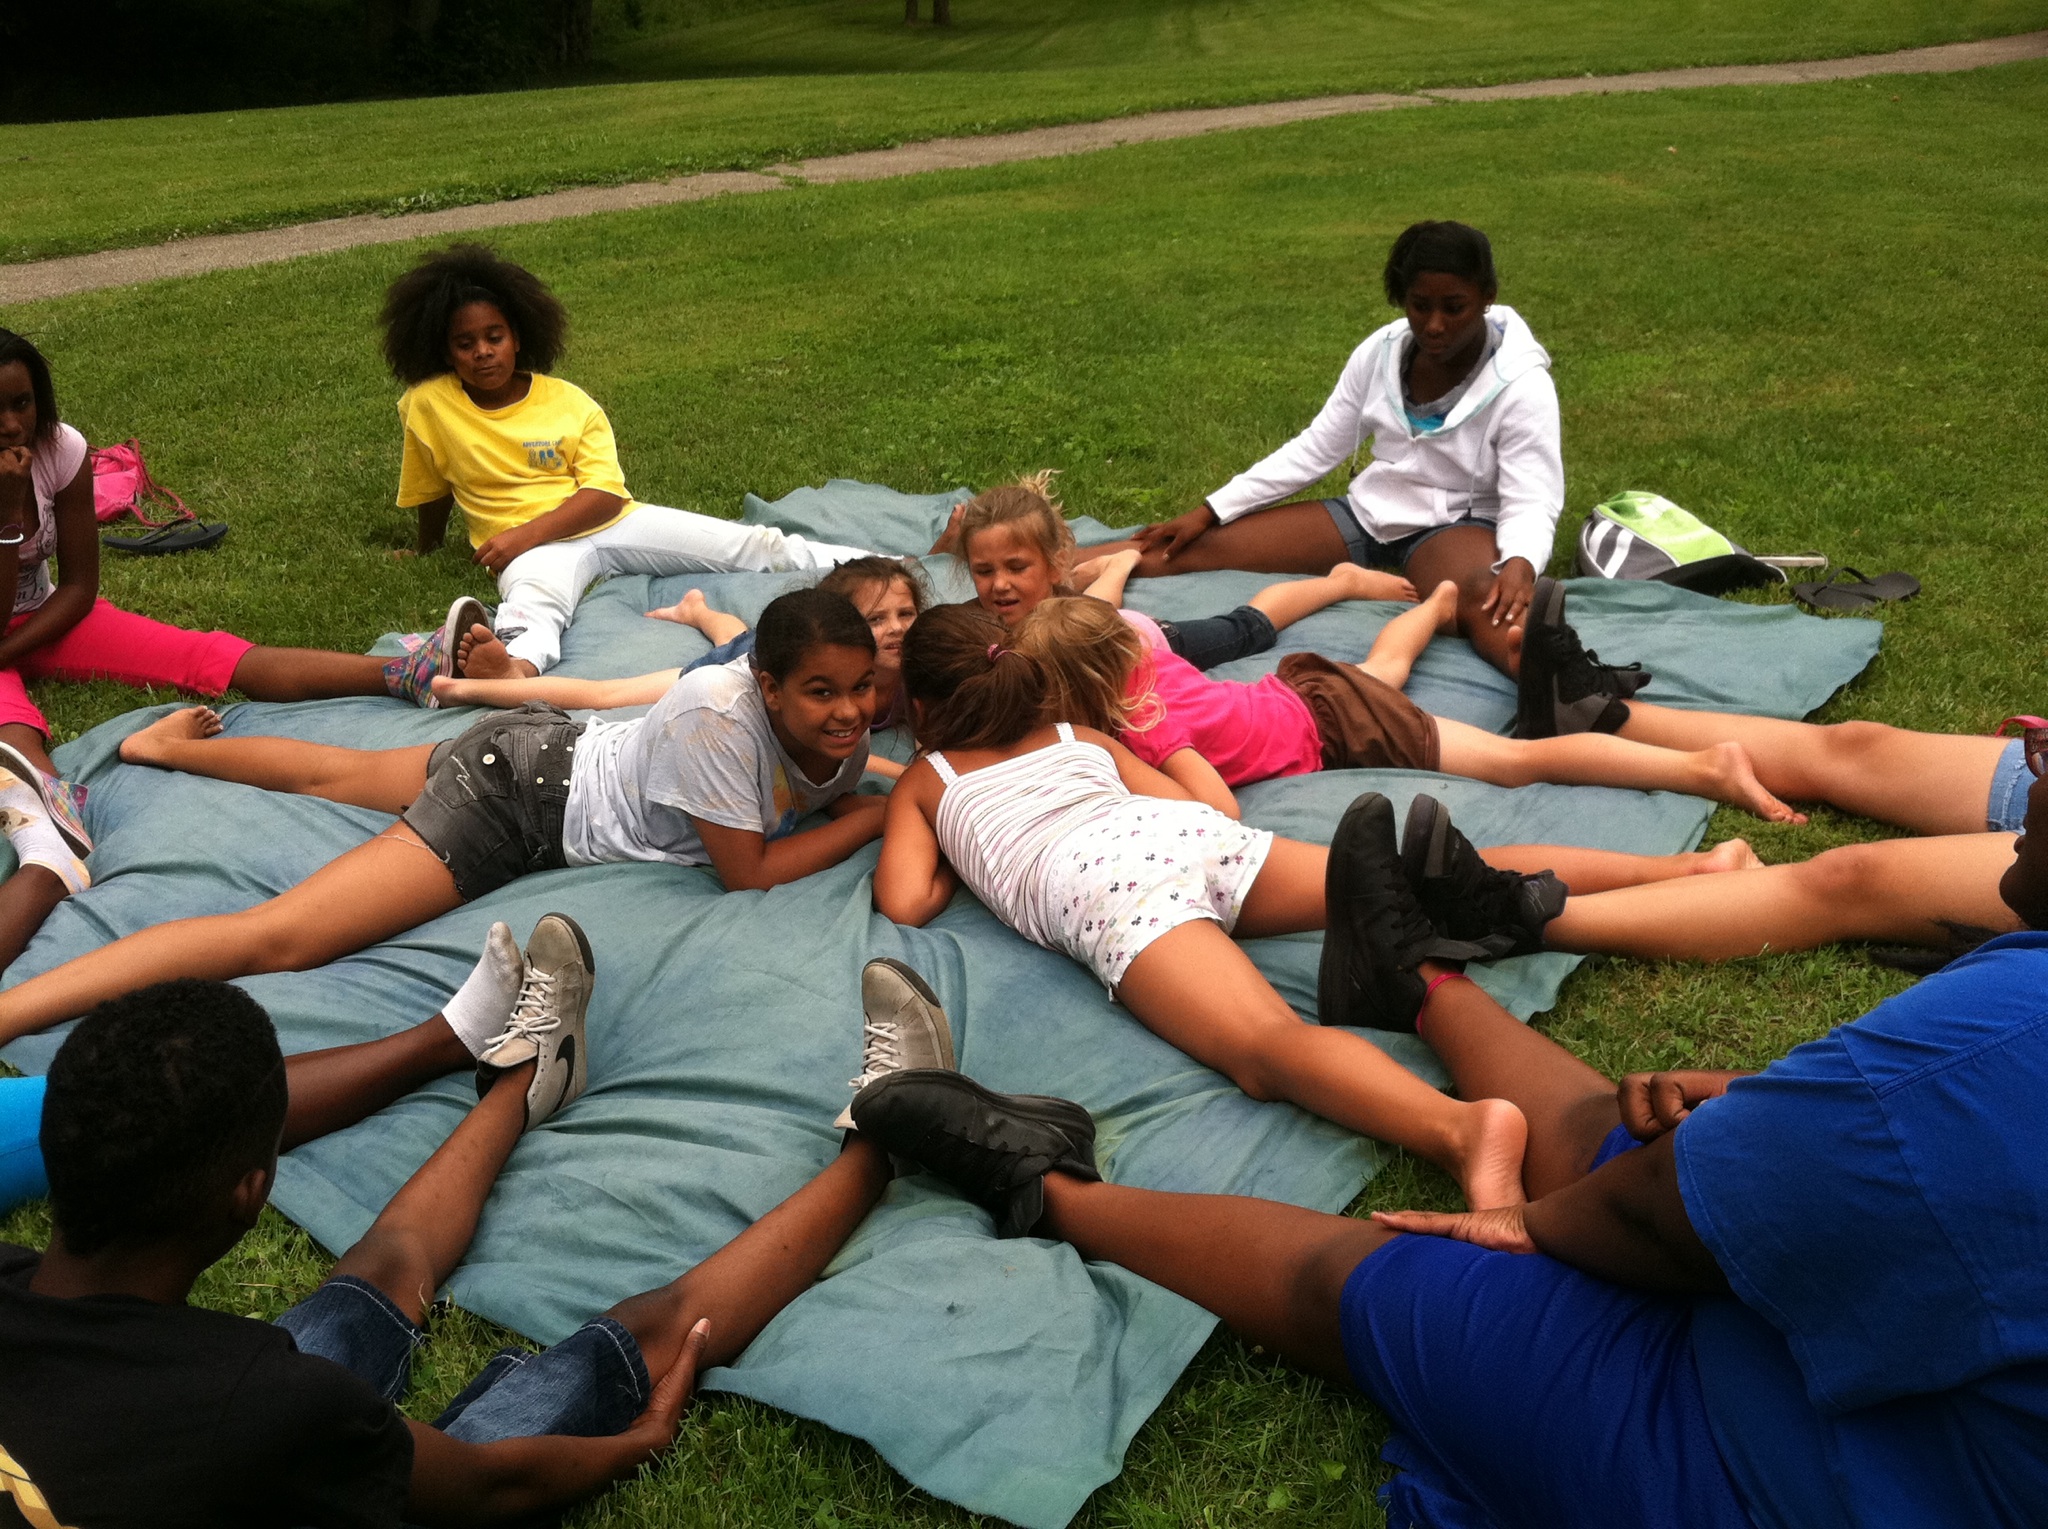
When we broke off into our groups, I explained what a cyanotype was and that they needed to come up with a collaborative piece in which they could all participate in. They all immediately took charge and began laying out their “design” on the ground. They decided that they wanted to make a star shape with a smaller one in the middle with the little girls. During this decision making process, I was extremely impressed by the good communication and team work they had together. When one of the younger girls would get fussy or feel like they weren’t involved enough, the older girls were right there to pull them into the mix again. It was a really wonderful group of girls (and one boy who I think was embarrassed the whole time but was a real sweetheart).
When we had our design ready, we quickly spread out the fabric on the ground and they all got into our planned formation as to not let the cyanotype get too much sun exposure before they got on top of it. The tricky part was convincing them all that 15 minutes wasn’t THAT long to just lay there. 🙂
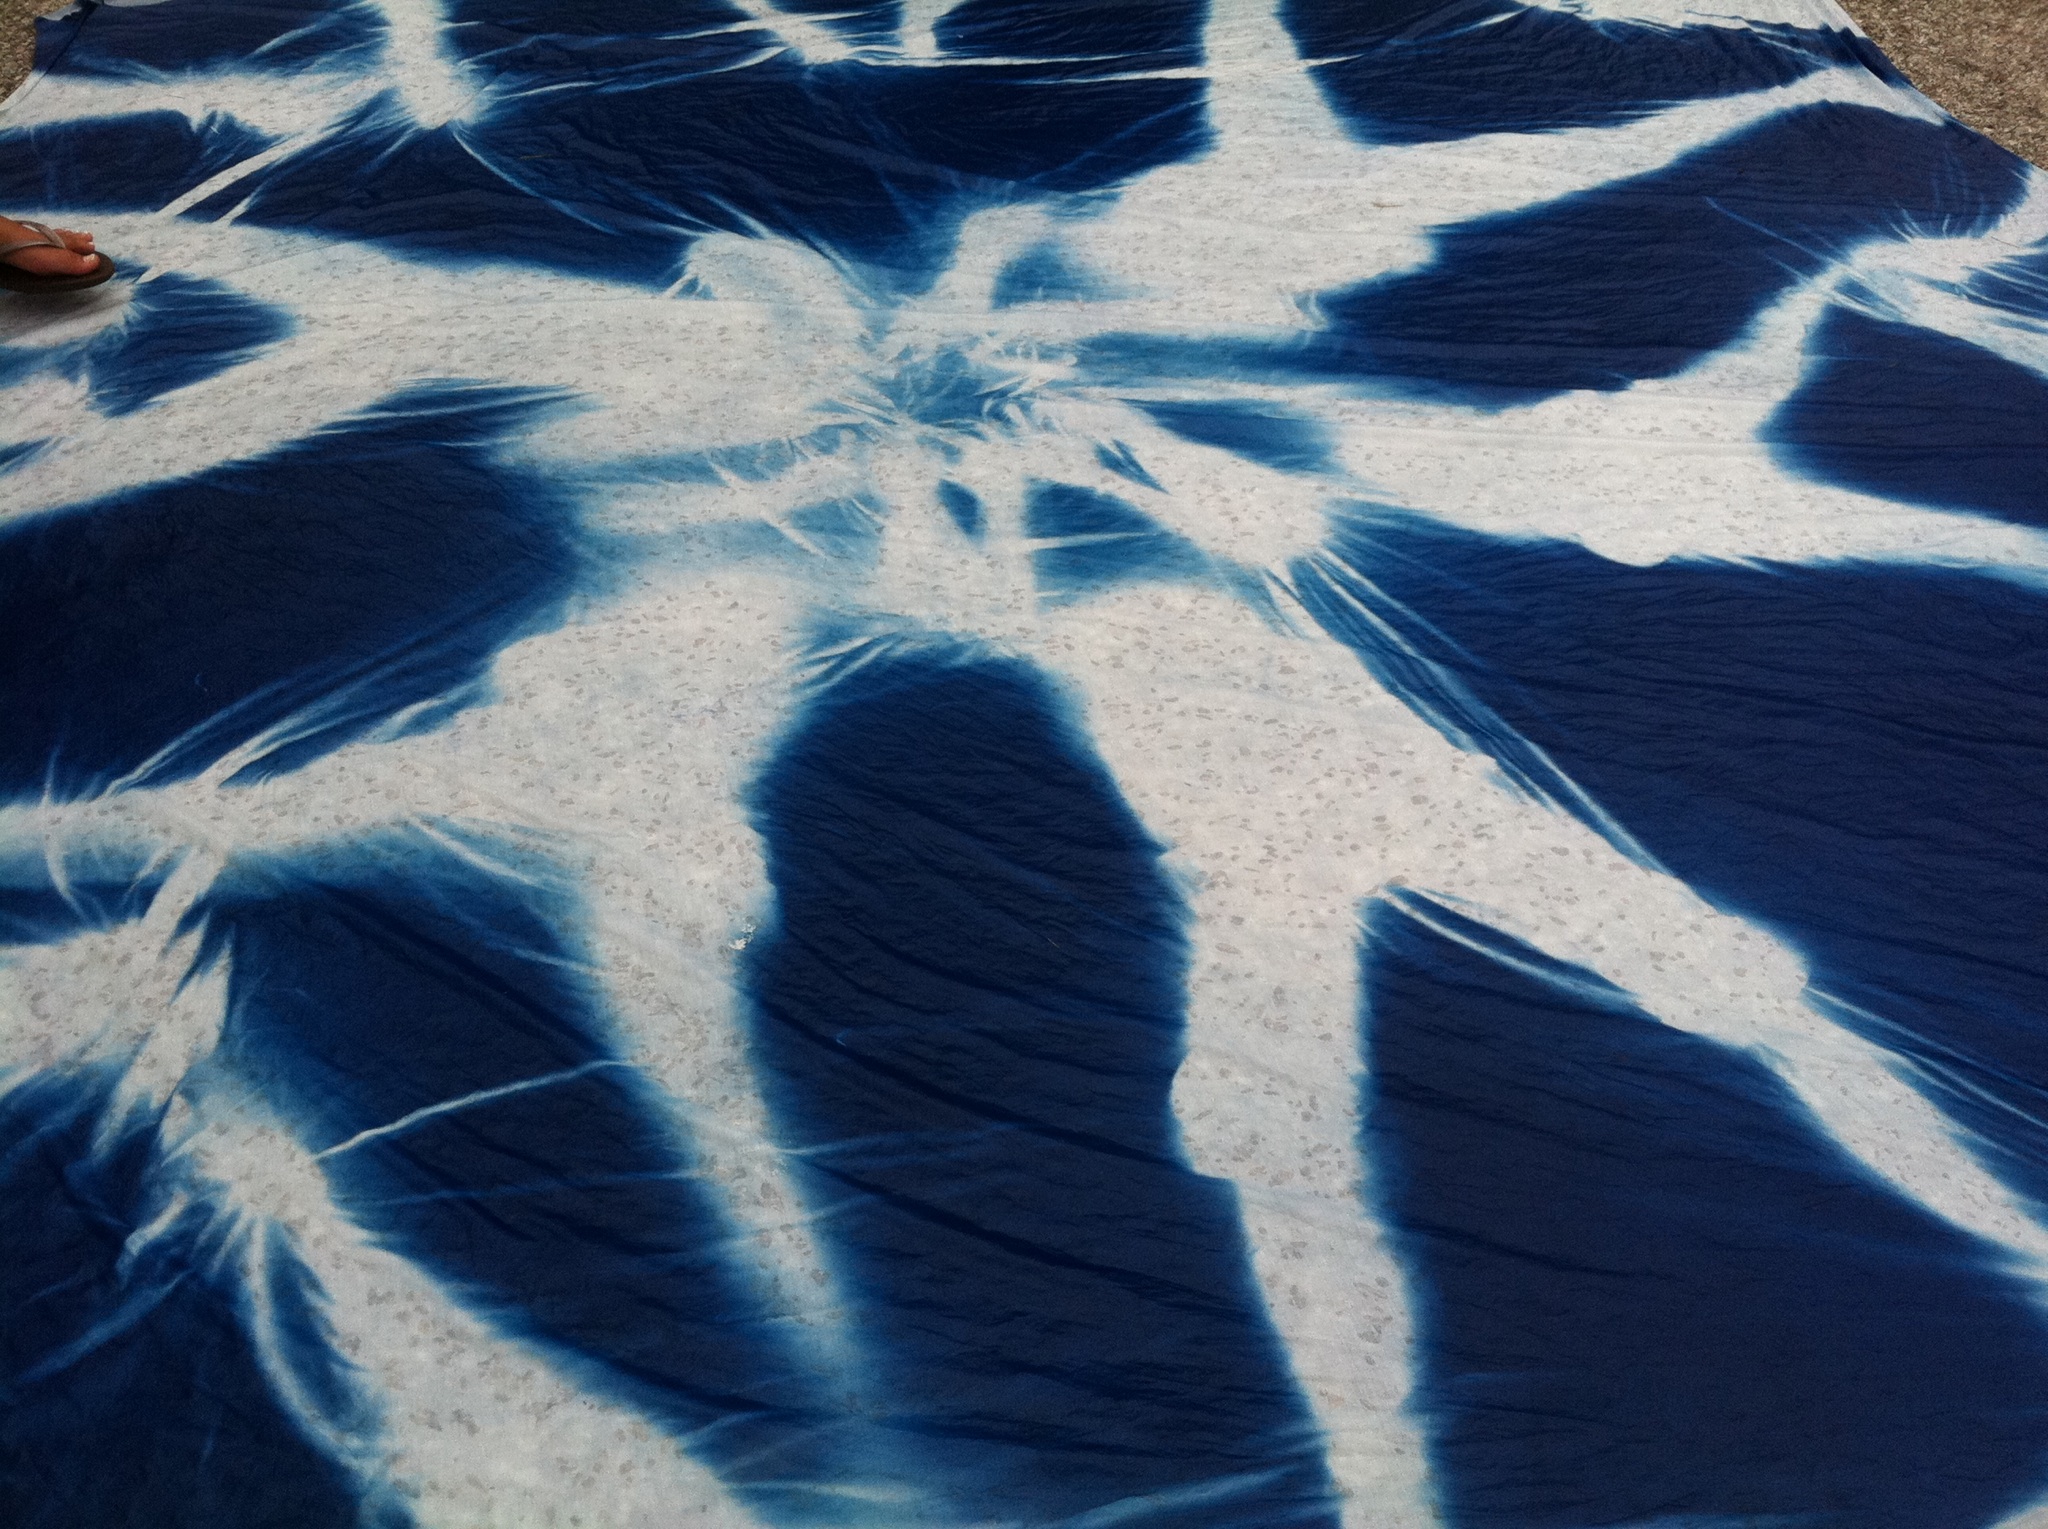
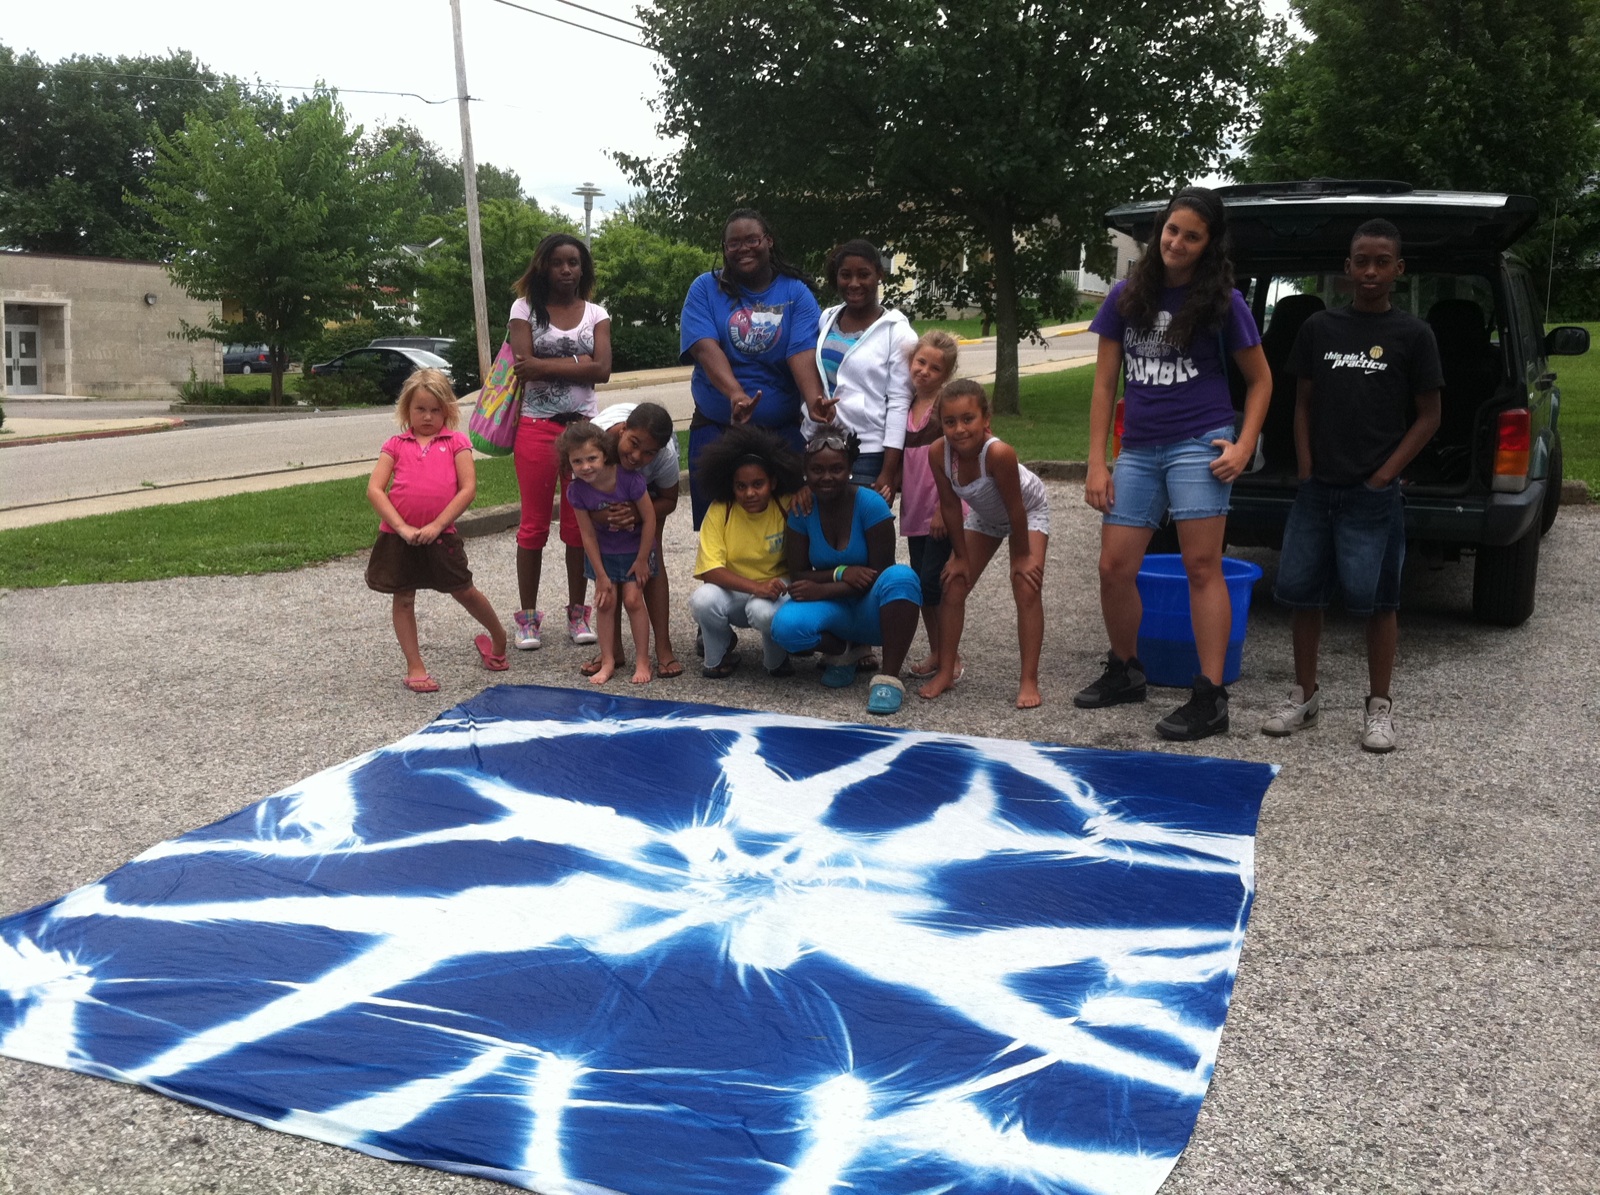
 After exposing it to the sun for about 15 minutes, we ran it over to my car where I had a bucket of water and some hydrogen peroxide waiting to develop it. The whole time that we swirled the fabric in water, everyone was making ooohs and aaahs at the rich blues coming out of the fabric. After adding the peroxide, we stretched the fabric out on the ground to see their masterpiece!
 They all excitedly talked about the possibility of Banneker hanging the piece in the gym and getting to sign it. It was really great getting to share such excitement about an extremely basic photo process with them! Such great girls AND guy and one beautiful piece of art!
 After cleaning our mess up, I headed back to help Kyle clean up. When I got there, I found him adorned with paper and yarn jewelry that the little girls had made for him and his hands covered in Elmer’s glue. At first, I was afraid to ask how it was after dragging him along with me but as we cleaned up he expressed the same sentiments I had.
We both had a great time with these kids this week and are hoping to do more of it when we get back from our travels!!
You guys are so awesome! I love the Cyanotype. But I would REALLY love to see a pic of Kyle all covered in yarn!